Product Description
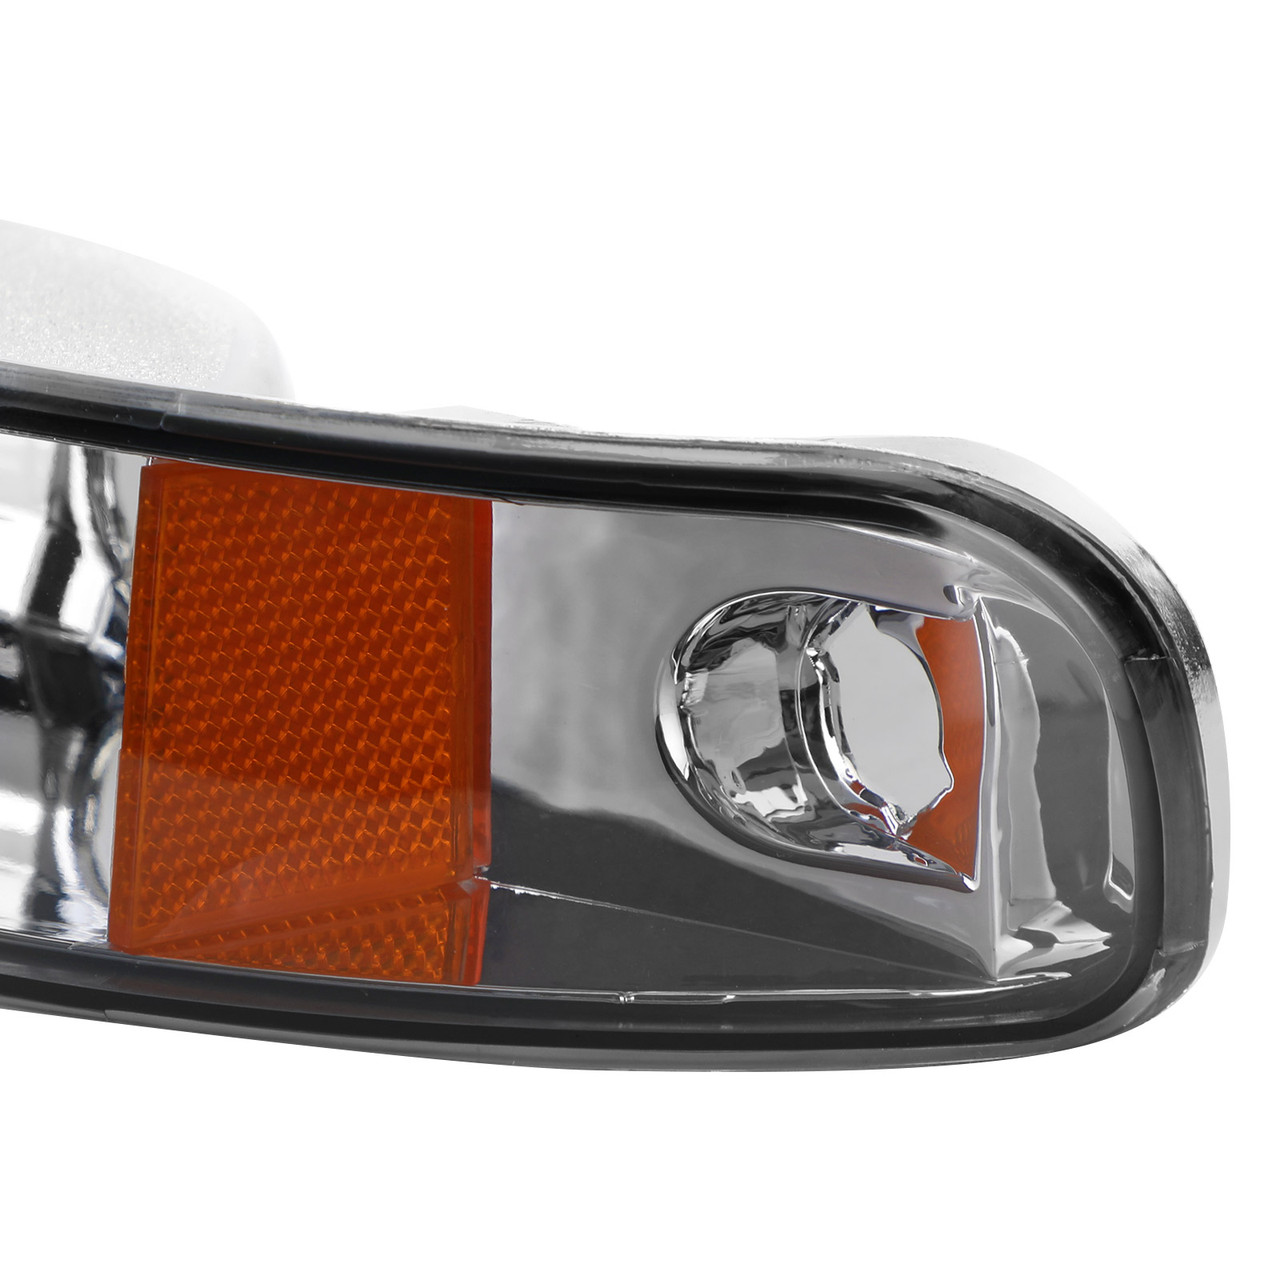
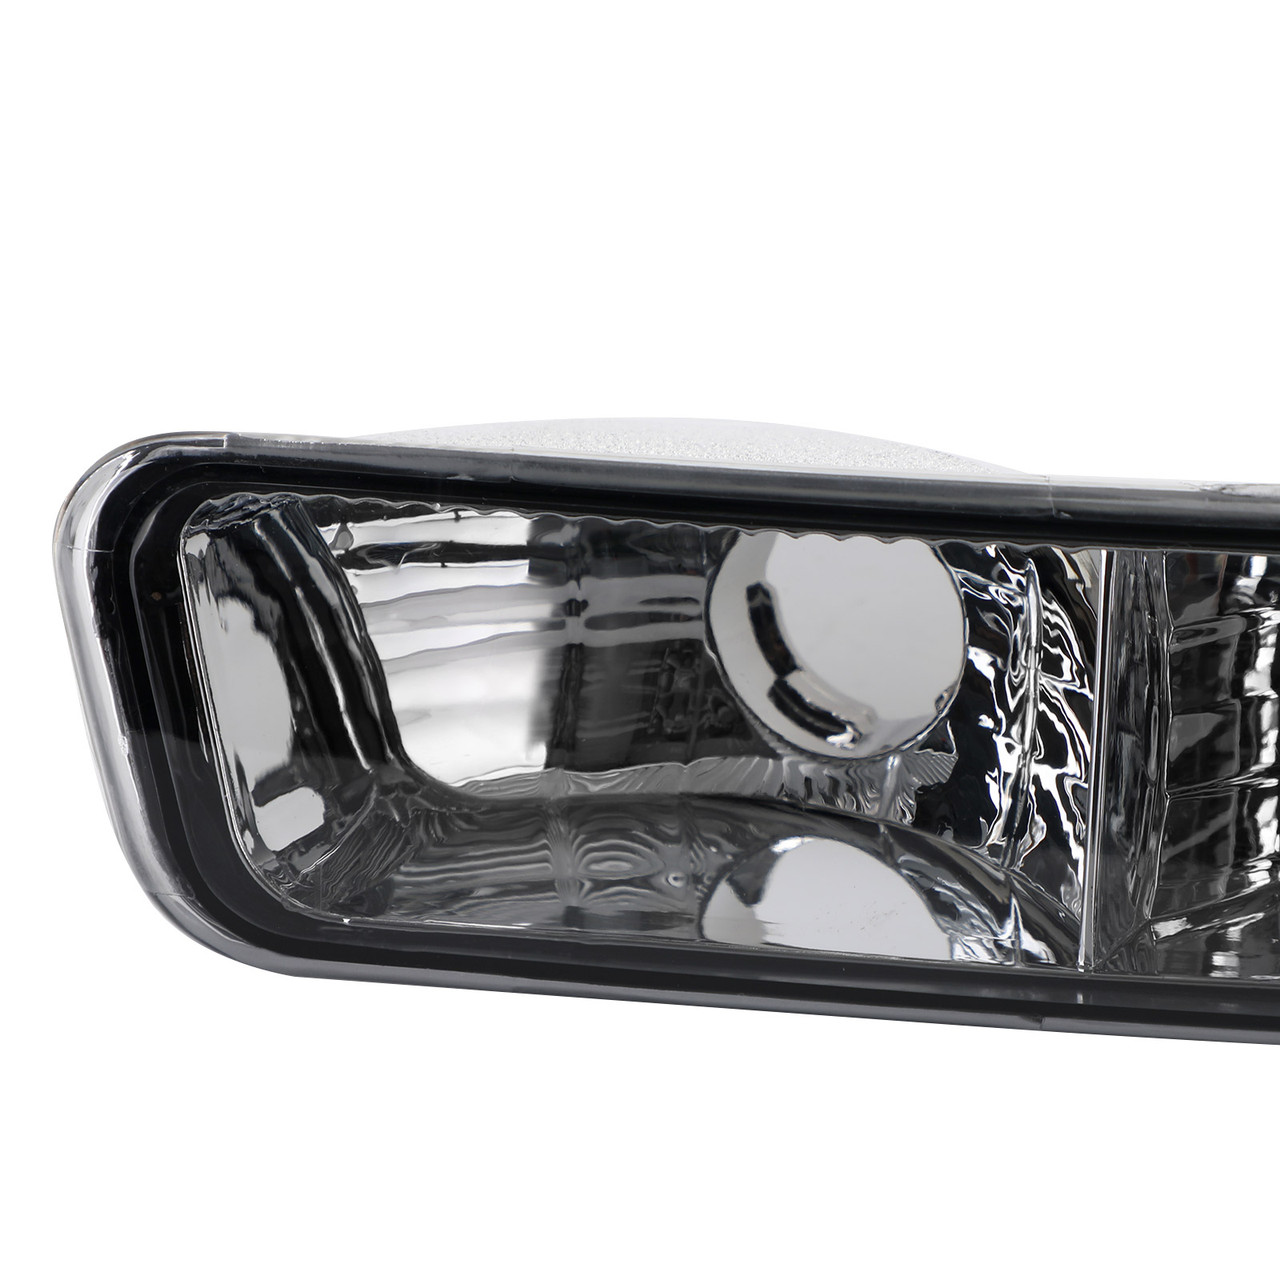
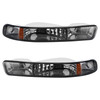
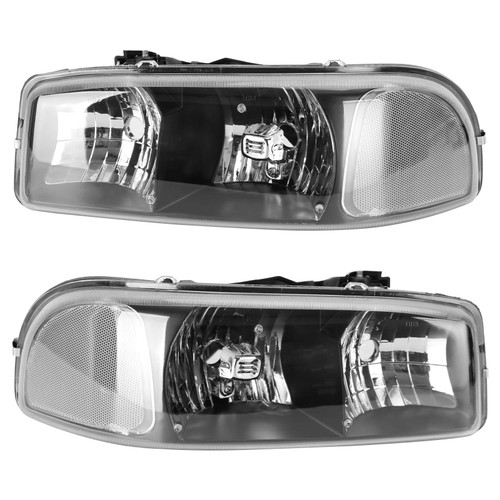
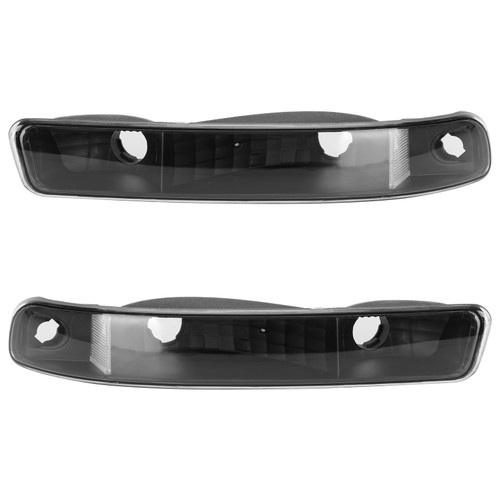
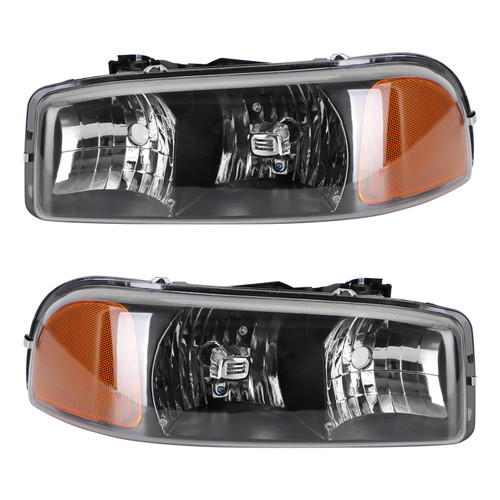
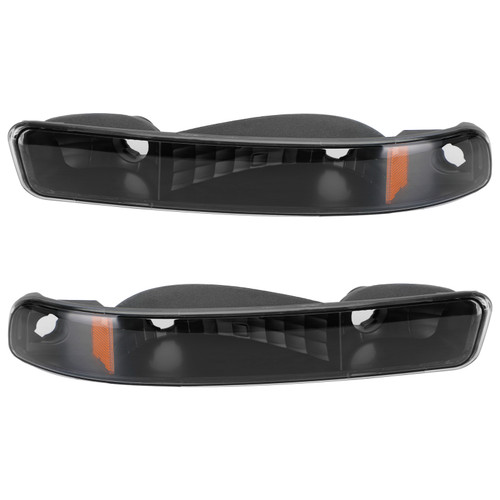
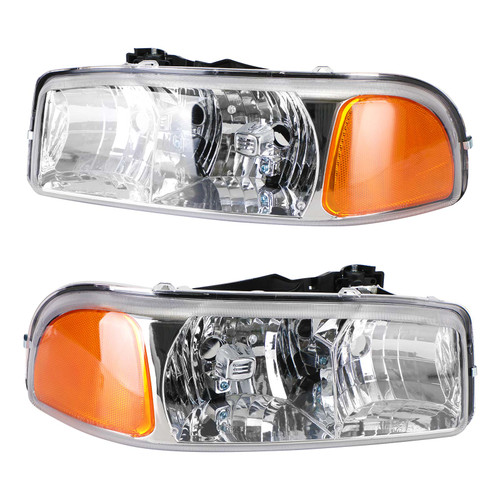
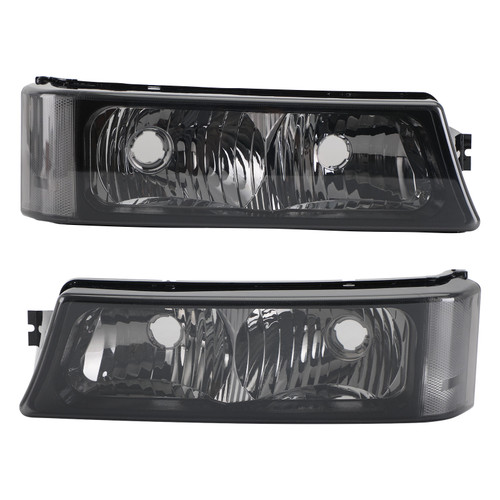
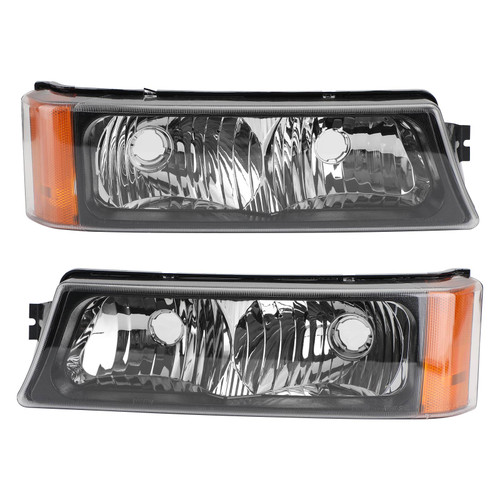
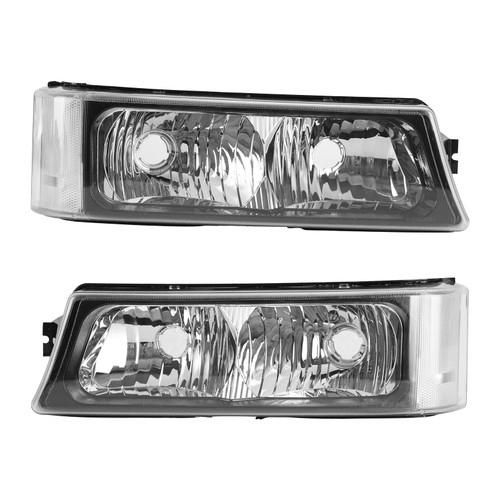
Smoke Black Housing Side Headlights/Lamp Assembly For GMC Sierra Yukon XL 1999-2006 EFeature:
1.A new pair of headlights from ours allow you to see the road in front of you clearly during the night and in any bad weather
that may arise.
2.Gives you and your family safer nighttime driving.
3.Makes your car looks newer.
4.See road markings and traffic sighs better.
5.Driving at night can be a scary proposition - and it's even scarier if you can't see the road well.
6.A dim, cloudy, yellowed, or otherwise damaged or non-functioning headlight makes driving dangerous,not only is your own
safety at risk, but the safety of others is as well.
7.Great Replacement or upgrade for factory headlights
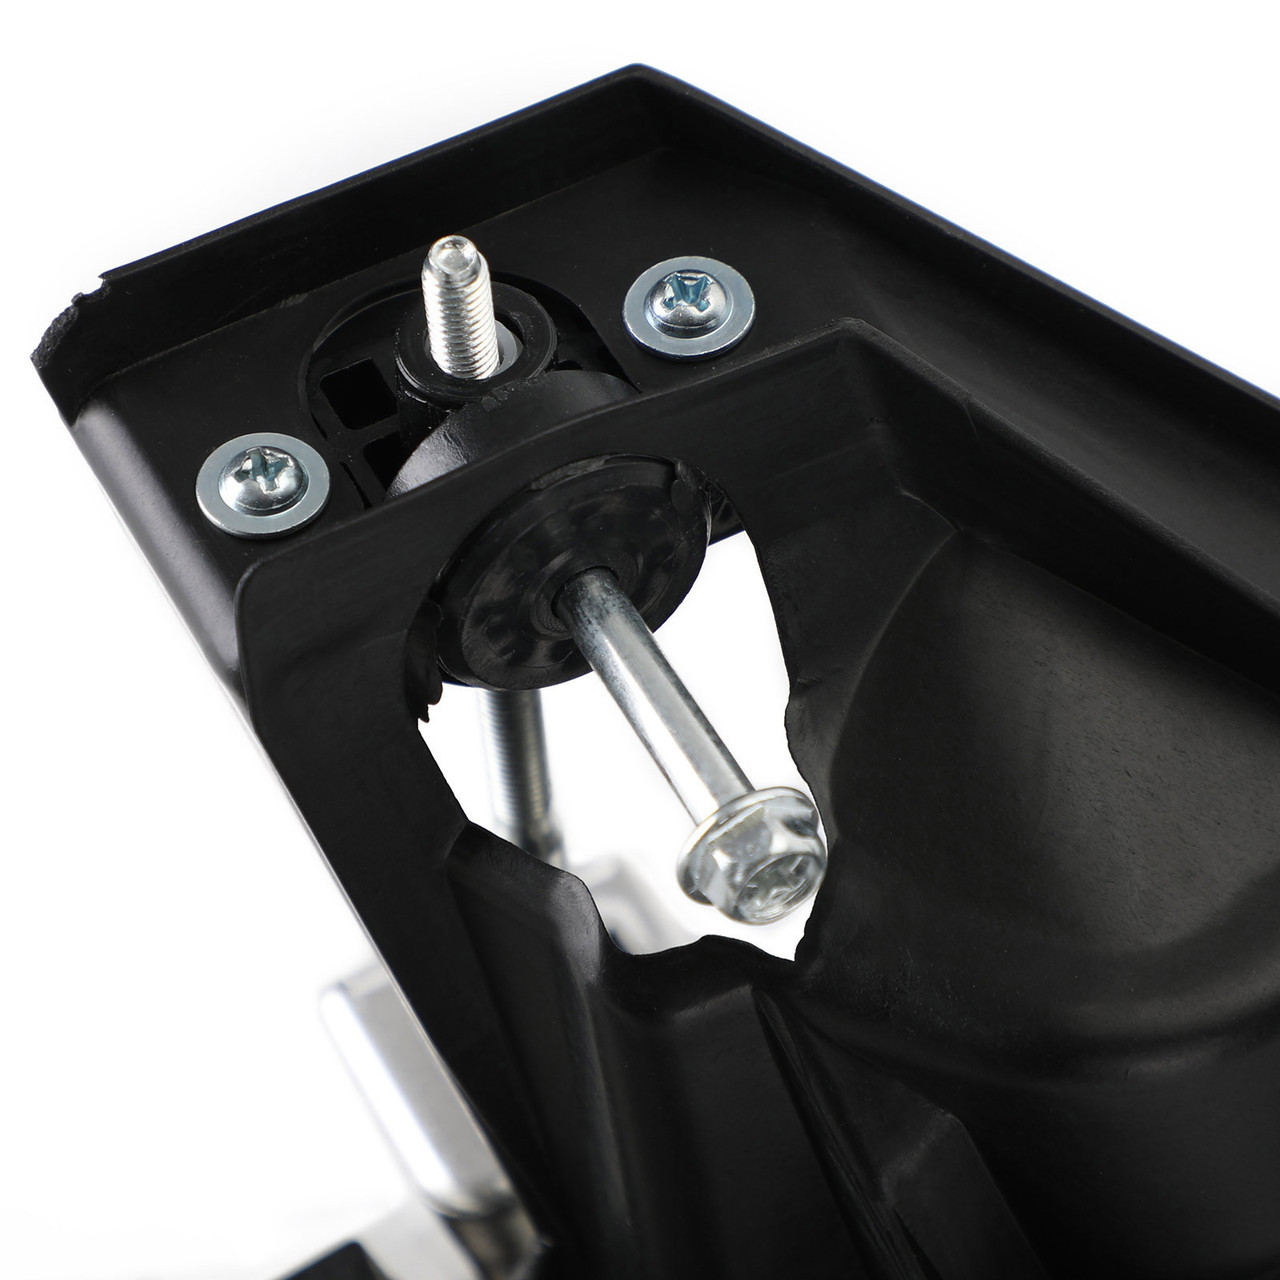
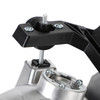
8.Adjustment screws for high/low beam
Specifics:
Condition: 100% Brand New
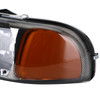
Color: Chrome Housing Smoke Lens
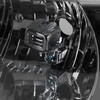
Material: Plastic Housing / Polycarbonate Lens
Fitment Type:Direct Replacement
Placement on Vehicle:Front, Left, Right
Manufacturer Part Number:166-GMC99-007
Interchange Part Number:15218077/15218078/15199561/15199560 99 00 01 02 03 04 05 06 15
Other Part Number:15218077/15218078/15199561/15199560 99 00 01 02 03 04 05 06 15
Assembly Type:Composite
Housing Color:Chrome
Lens Color:Smoked
Bulb Shape Code 1: High Beam 9005
Bulb Shape Code 2: Low Beam 9006
Lighting Technology:Halogen
Fitment:
For GMC Sierra 1500 / 2500 / 3500 models 1999-2006
For GMC Sierra Classic 1500 / 2500 / 3500 2007
For GMC Yukon 2000-2006
For GMC Yukon XL 1500 / 2500 SLE | SLT | SL | XL | WT | DENALI | SPORT 2000-2006
( Does not fit 1999 Sierra Old Body Style / 2007 Sierra New Body Style models )
Package Include:
1 Pair of Headlights (Driver & Passenger Side)
Note:
1.Please check whether this item can fit on your car before purchasing.
2.Before you begin to adjust the light, make sure check the alignment of your lights first. Park the vehicle about 10 to 25 feet from the wall with the lights aimed at the wall. The centerlines of the headlights should not be any higher than 3.5 feet above the ground.
TIPS:
垄脷.Installation:
1.Undo the screws, clips, or retainer springs that hold the headlight in place.
2.Disconnect the wiring from the assembly.
3.Detach the headlight from the vehicle to replace it with a new one.
4.Fit in the new headlight assembly.
5.Fix the new headlight into place and make sure that the screws, clips, or retainer springs used are sealed.
6.Reconnect the wiring that was unplugged from the assembly.
7.Put back the grille and other components that you removed. Seal them back into place.
8.Test the new assembly.
垄脷.Adjustment:
Before you begin to adjust the light, make sure check the alignment of your lights first. Park the vehicle about 10 to 25 feet
from the wall with the lights aimed at the wall. The center lines of the headlights should not be any higher than 3.5 feet above
the ground.
1. Find the adjustment screws. Firstly, locate the adjustment screws on your vehicle.
2. Adjust the headlight individually. The headlights should be adjusted one at a time. Put a rag or towel
over a chair in front of the light you want to block. Covering the light assembly directly can damage the plastic lens.
3. Adjust the vertical field. The screw on the top of the light housing should be turned clockwise to raise the
lights and counterclockwise will lower the light. The headlight should be adjusted until the top of the most intense part of the
light beam shines directly on or just below the center of the tape line on the wall.
4. Test your results
垄脹.Adjustment:
Condensation buildup inside a headlight assembly is normal, and it occurs for a number of reasons.Condensation does not mean
that a headlight assembly is defective,After hot, pressurized air has worked its way out of the headlight through the vents, humidity
can get drawn in from the outside. So, headlights that have been on during hours of driving become fogged on the inside because
their cool temperature creates a low-pressure area that actually draws moisture in.To minimize condensation buildup inside the
headlight, make sure any dust boots or covers are on tightly. Also make sure that the headlight vents are not blocked, which could
prevent condensation from escaping.
If water collects inside your headlight to the point where puddles form, odds are you've got a crack in the headlight lens cover. Water
can also leak in because of improper seals around dust boots where bulbs are inserted. If no cracks or holes are visible around the
edges of the headlight, the problem could be the housing itself. If you can visibly locate a crack, it's best to repair it with sealant.


